
Use the Shell
In this step, you will use the Thonny Shell to run some simple Python code on your Raspberry Pi Pico.
Make sure that your Raspberry Pi Pico is connected to your computer and you have selected the MicroPython (Raspberry Pi Pico) interpreter.
Look at the Shell panel at the bottom of the Thonny editor.
You should see something like this:
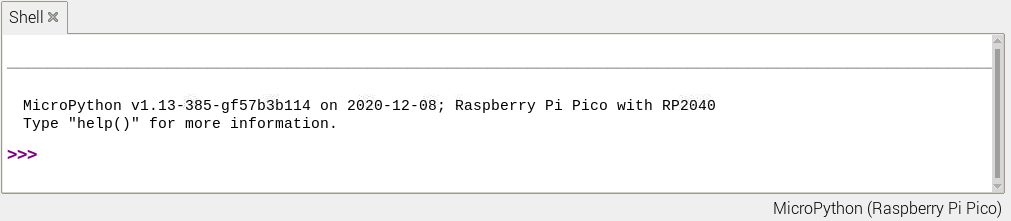
Thonny is now able to communicate with your Raspberry Pi Pico using the REPL (read–eval–print loop), which allows you to type Python code into the Shell and see the output.
Now you can type commands directly into the Shell and they will run on your Raspberry Pi Pico.
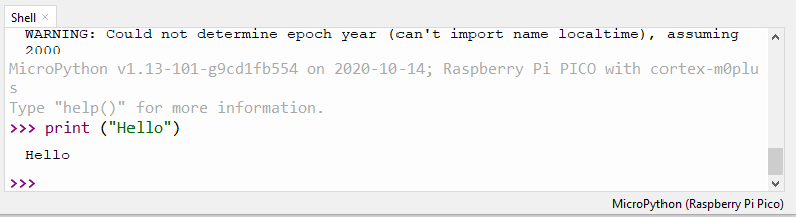
Type the following command.
Tap the Enter key and you will see the output:
MicroPython adds hardware-specific modules, such as machine, that you can use to program your Raspberry Pi Pico.
Let’s create a machine.Pin object to correspond with the onboard LED
If you set the value of the LED to 1, it turns on.
Enter the following code, make sure you tap Enter after each line.
You should see the onboard LED light up.

Type the code to set the value to 0 to turn the LED off.
Turn the LED on and off as many times as you like.
Tip: You can use the up arrow on the keyboard to quickly access previous lines.
If you want to write a longer program, then it’s best to save it in a file. You’ll do this in the next step.
Last updated